In some digital painting applications, when you draw a shape and try to fill its inside using the bucket fill tool, you'll notice that there are gaps between the fill and the stroke. You can observe this phenomenon in GIMP and Vara, for example. People seem to have difficult time dealing with this even in Adobe Photoshop, if you check the forums. Why does this happen and how to solve it?
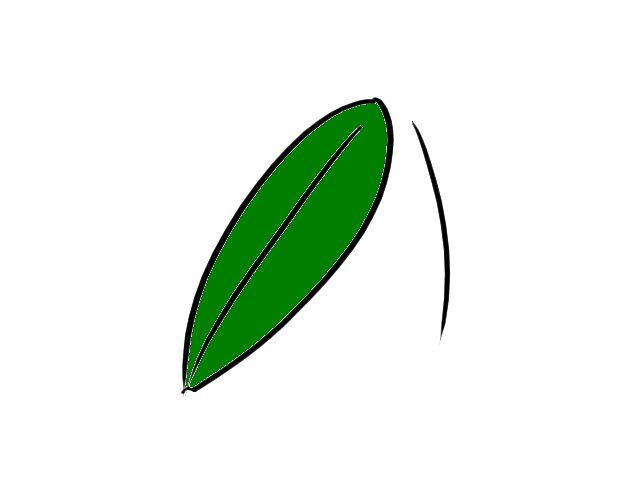
This happens because these applications are sophisticated enough to apply anti-aliasing to brush strokes, making the strokes have smooth edges compared to the pixelated look you had in classic MS Paint. While anti-aliasing makes strokes look beautiful, it works by adding additional smoothening pixels, which will block the bucket fill from locking into the stroke perfectly.
While you can experiment with the settings (if any) related to the bucket tool to see if it'll blend in perfectly, usually it's a lost cause. The key to solving the issue is to use different layers for stroke and fill--draw the brush strokes in the foreground layer, and do colouring (or filling) in the background layer. How do you use the fill tool in the background layer if the stroke is in the foreground layer? The answer is you don't. Well, you don't have to. You can either fill the area manually using brushes of various sizes after picking the fill colour, or use a combination of brushes and the fill tool.
This method of separating strokes and filling into two different layers will not only solve the problem of gaps in the fill, but also make your drawing look more natural and professional.
Now let's get into the exact steps as to how it's done.
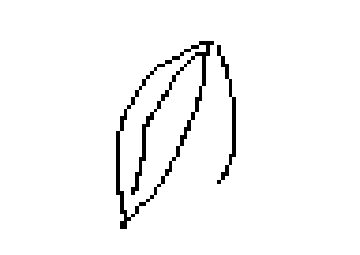
First, make sure you have at least two layers, and the foreground one is transparent. If you are using Vara, this is the default. Now you can draw the outline in the foreground layer.
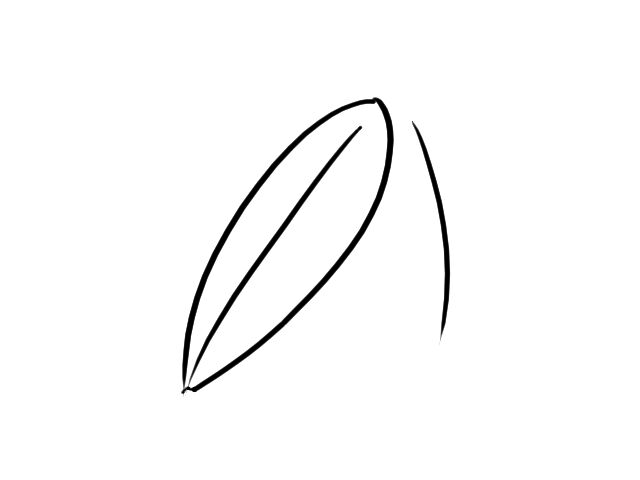
Once you are done with the strokes, switch to the background layer. You can paint freely in this layer. Overlapping with the strokes from the foreground layer is not an issue as those strokes will always remain in the foreground. However, you may not want to paint beyond the shapes those strokes represent or your colouring won't look like a fill anymore.
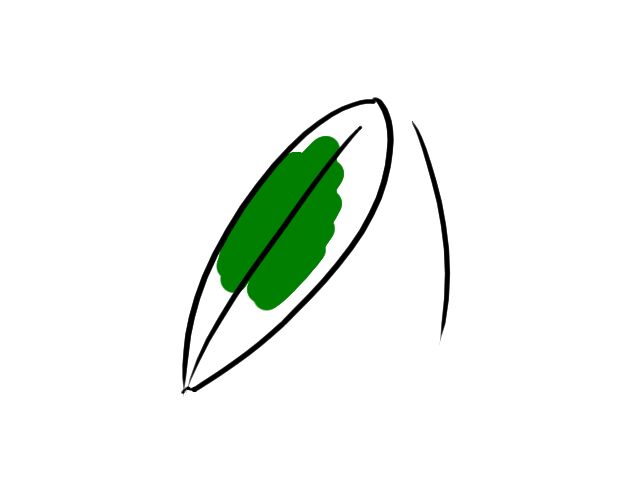
The exact method you use to paint the fill is up to you. For ease, you can draw a rough outline using a small brush (in the background layer itself, with same colour as of the intended fill colour), and the use the bucket fill tool to fill it. You'll get those gaps here as well, but this time you can touch up without affecting the original strokes from the foreground layer.
Or you can simply do the whole filling using brushes alone.


Please note that whether you should use different colours for fill and stroke is upto you and what picture you are drawing.